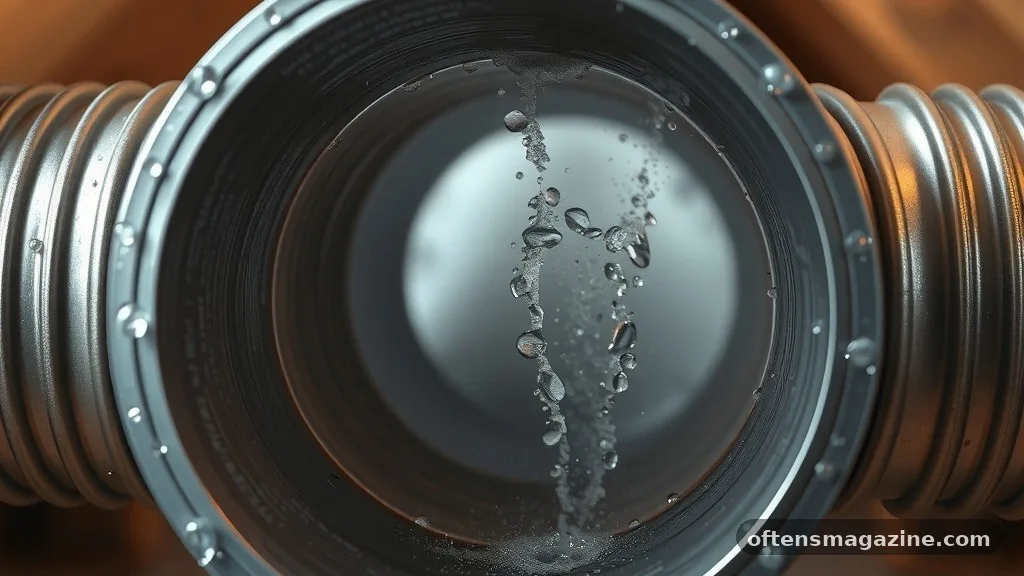
Discovering that your bathroom fan is leaking water can be a startling experience, often leading to concerns about roof leaks or major plumbing failures. In most cases, the issue of why does my bathroom fan drip water? Causes and fixes often center on simple condensation rather than a structural emergency.
When warm, humid air from your shower hits the cold surface of your ductwork, it turns back into liquid water. This accumulation then travels down the vent and exits through the fan housing. Understanding the mechanics behind this process is the first step toward keeping your ceiling dry and preventing potential mold growth in your home.
The Science of Condensation in Ductwork

The primary reason you see water dripping from your fan is the rapid cooling of moist air. When you run a hot shower, the bathroom air becomes saturated with water vapor.
Your exhaust fan pulls this warm, wet air into the ductwork, which is often located in a cold attic space. If that ductwork isn’t properly insulated, the temperature difference causes the vapor to condense immediately upon touching the cold metal or plastic walls of the pipe.
This phenomenon is similar to a cold soda can “sweating” on a hot summer day. As the droplets accumulate inside the pipe, they eventually run down the walls of the duct and pool at the lowest point.
Because the exhaust fan is usually the lowest point in the system, gravity pulls that moisture directly into the unit. If you notice this happening, the moisture is likely not coming from the outside, but rather from the air you just sent out of the room.
To confirm this, observe if the dripping happens primarily during or immediately after a shower. If the water only appears when the fan is active or shortly after it stops, condensation is the almost certain culprit.
If the water drips constantly, especially during rainstorms, you might be dealing with a compromised roof seal rather than simple condensation. Proper airflow and temperature regulation are essential to stopping this cycle before it damages your ceiling drywall.
Checking Your Duct Insulation
One of the most effective ways to stop moisture buildup is to ensure your exhaust ductwork is wrapped in insulation. In many homes, especially older ones, the duct running through the attic is just a bare metal or thin plastic tube.
This material offers no thermal resistance, meaning it stays at the ambient temperature of your attic. In the winter, your attic can be freezing, which turns your duct into a condensation trap.
You can purchase insulated flexible duct at most hardware stores to replace your existing setup. These ducts come with a thick layer of fiberglass or polyester insulation already wrapped in a vapor barrier.
When you install this, you effectively decouple the warm, moist air inside the pipe from the freezing air in your attic. This keeps the internal temperature of the duct warm enough that the water vapor stays in a gaseous state until it is safely exhausted outside.
If replacing the entire duct is too difficult, you can buy insulation sleeves that slide over your current pipe. Ensure that the insulation covers the entire length of the duct from the fan housing all the way to the exterior vent cap.
Gaps in the insulation can create cold spots where condensation will still form, leading to localized dripping. Always secure the insulation with foil tape to ensure a tight, vapor-proof seal.
The Importance of Proper Duct Pitch
Gravity is your best friend or your worst enemy when it comes to bathroom ventilation. A properly installed exhaust system should be pitched slightly downward toward the exterior vent.
If your duct runs perfectly flat or, worse, dips in the middle, water will pool in those low spots. This pooling creates a “trap” that eventually overflows or provides a breeding ground for mold and mildew.
Ideally, the duct should slope downward at a rate of about one-quarter inch per foot of length. This ensures that any minor condensation that does form has a clear path to run out of the house rather than back down into your bathroom.
If you find a low spot in your flexible duct, use zip ties or metal strapping to hang the duct from the attic rafters. This keeps the line taut and prevents the sagging that leads to water accumulation.
Check your current setup for these common installation errors:
- Low spots in flexible ducting caused by improper support.
- Ducts that run uphill toward the roof vent, forcing moisture to flow backward.
- Excessive duct length that gives moist air too much time to cool down.
- Lack of a backdraft damper, which allows cold air to enter when the fan is off.
Inspecting the Roof Jack and Vent Cap
Sometimes the issue isn’t the air inside, but the path it takes to get outside. The roof jack—the piece of hardware that protects the hole in your roof—must be properly sealed and flashed.
If the flashing is damaged or the sealant has cracked, rain can easily enter the ductwork from above. This is a common source of leaks that people often mistake for condensation.
You should perform a visual inspection of the roof cap from the outside if it is safe to do so. Look for cracked rubber gaskets, missing shingles around the base of the vent, or debris that might be holding the flap open. If you see daylight coming through the vent when the fan is off, it is likely that cold air is being pulled in, which exacerbates the condensation issue during the winter months.
It is also worth checking if the external flap is stuck. If the flap is jammed shut, your fan is essentially blowing air against a wall, which causes high pressure and forces moisture into the seams of your ducting.
If the flap is stuck open, it allows wind and rain to enter the pipe directly. Maintaining this exterior component is just as important as the mechanical fan unit itself.
Comparing Potential Moisture Sources
It is helpful to distinguish between different types of leaks to determine the correct repair strategy. Use this table to narrow down what might be happening in your home.
| Symptom | Likely Cause | Recommended Action |
|---|---|---|
| Drips only during showers | Condensation | Insulate ductwork |
| Drips during rain | Roof leak | Repair flashing/sealant |
| Drips constantly | Plumbing/Pipe leak | Check attic pipes |
| Brown water drips | Mold or rust | Clean or replace duct |
Optimizing Fan Performance and Airflow
The power of your fan, measured in CFM (Cubic Feet per Minute), plays a major role in how effectively your bathroom clears moisture. If your fan is too weak for the size of your bathroom, it will take too long to clear the steam.
This extra time allows more moisture to settle on cold surfaces. You should aim for roughly 1 CFM per square foot of bathroom floor space.
Another factor is how long you run the fan after you finish showering. Many people turn the fan off the moment they step out of the shower, but the air is still humid. Leave the fan running for at least 15 to 20 minutes after you leave the room.
This ensures that the remaining moisture is fully evacuated from the ductwork. If you forget to do this, consider installing a timer switch that handles the shut-off for you.
Finally, ensure that your bathroom door has a small gap at the bottom. The fan needs a source of makeup air to function; if the room is perfectly sealed, the fan will struggle to pull air out.
That gap allows fresh, dry air to enter the room, which helps the fan cycle the humid air out more efficiently. This simple adjustment can significantly reduce the amount of moisture that lingers in your bathroom.
Dealing with Mildew and Long-Term Damage
If your bathroom fan has been dripping for a long time, you need to check for signs of mildew in the attic or the ceiling drywall. Moisture that sits in the ductwork or leaks onto the attic insulation can quickly turn into a health hazard.
If you see dark spots on your ceiling or notice a musty smell, you must address the leak immediately. Use a mold-inhibiting cleaner to wipe down the fan housing and any visible duct sections.
If the insulation in your attic has become soaked from a leaking vent, it will lose its effectiveness and potentially grow mold. You should remove and replace any wet insulation to prevent the problem from spreading to your ceiling joists.
While this might seem like a major task, it is much cheaper than replacing water-damaged drywall or dealing with structural rot. Keeping your attic dry is a critical part of maintaining the health of your home.
When you address why does my bathroom fan drip water? Causes and fixes, you are essentially protecting your home’s infrastructure. By insulating your ducts, ensuring proper pitch, and checking your external roof vents, you can prevent these issues from recurring.
If you follow these steps, you will likely find that the dripping stops and your bathroom environment remains dry and comfortable. If you remain unsure about the source of the leak, don’t hesitate to consult a professional roofer or an HVAC technician to inspect your ventilation system for hidden issues.
