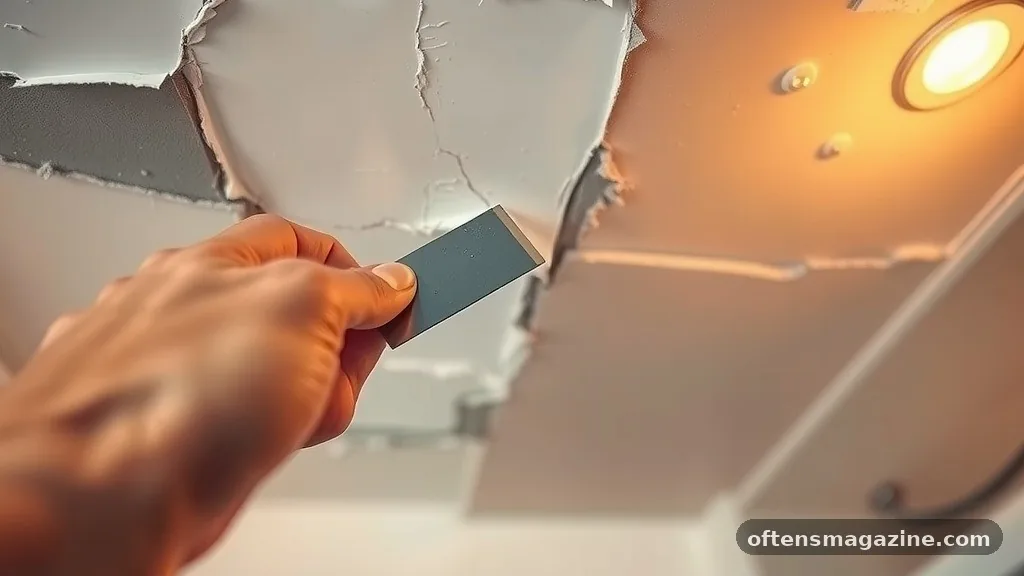
Dealing with stubborn patches of flaking finish is a common household nuisance, but fixing peeling paint on bathroom ceiling without repainting everything is entirely achievable with the right approach. Most homeowners assume the entire surface needs a total overhaul, yet targeted repairs often yield excellent results.
By addressing the underlying moisture issues and performing careful spot-treatments, you can restore your ceiling’s appearance while saving yourself significant time and money. This process focuses on stabilizing the surrounding area and blending the repair seamlessly into the existing finish, ensuring that your quick fix lasts through many more steamy showers.
Assessing the Damage and Identifying the Cause

Before you pick up a scraper, you must determine why the paint is failing in the first place. Peeling usually signals that moisture has compromised the bond between the paint and the substrate. In a bathroom, this is almost always due to high humidity levels and poor ventilation.
If you have a bathroom exhaust fan, check if it is actually pulling air effectively or if the vent duct is clogged with dust. If you lack proper ventilation, condensation will continue to collect on the ceiling, causing any new paint to bubble and peel again within weeks.
Take a look at the edges of the peeling area. If the paint is soft, damp, or shows signs of dark spots, you might be dealing with mold or mildew growth beneath the surface. In this case, surface-level repairs won’t be enough, and you will need to perform some mold remediation by cleaning the area with a specialized solution.
Ignoring the source of the water—whether it’s a leaky pipe above or just standard shower steam—is the most common mistake people make. You cannot simply cover up the problem; you have to stop the moisture from attacking the new finish.
Preparing the Surface for a Lasting Patch
Once you have identified the source of the problem, the next step is to clear away all loose material. Use a sharp putty knife to gently scrape back the peeling paint until you reach an area where the finish is firmly attached to the drywall.
Do not try to force healthy paint off, but be thorough in removing anything that is already loose or bubbling. If you leave loose edges behind, they will continue to lift, making it impossible to achieve a smooth, invisible transition for your patch.
After scraping, the edges of the remaining paint will likely be jagged and raised. You need to use a fine-grit sanding block to feather these edges down until they are flush with the bare substrate. This step is critical; if you don’t taper the transition, the ridge will be visible even after you apply fresh paint.
After sanding, wipe the ceiling clean with a damp cloth to remove all dust. If you leave dust on the surface, the new primer won’t be able to get a solid grip, leading to future paint adhesion issues.
Smoothing and Patching the Substrate
If the scraping process revealed deep gouges or if the drywall paper was torn during the removal of the old paint, you need to repair the surface before priming. Apply a thin layer of drywall joint compound over the damaged area. Use your putty knife to spread the compound, ensuring you overlap the surrounding area slightly so you can feather it out thin.
Don’t try to build it up in one massive, thick glob. It is much better to apply two thin coats, letting the first one dry completely before adding the second.
Once the compound is bone dry, go back over the area with your sanding block to make it perfectly smooth. Run your hand over the repair; if you can feel a bump, you will see it once the paint is on. A common mistake here is using too much pressure while sanding, which can gouge the soft compound.
Keep your movements light and controlled. Once you are satisfied with the smoothness, wipe away the fine white dust again. A clean, smooth surface is the secret to fixing peeling paint on bathroom ceiling without repainting everything in the entire room.
Priming for Maximum Adhesion
You cannot skip the primer when working in a bathroom. Because bathrooms are high-moisture environments, you need a high-quality, moisture-resistant primer. This creates a barrier that prevents humidity from penetrating the drywall and loosening the paint again.
Apply the primer only to the patched area, extending it about an inch or two beyond the repair onto the existing paint. This “spot-priming” technique ensures that the new paint has a uniform surface to stick to.
Many people make the mistake of using a standard wall primer, which isn’t designed for the harsh conditions of a bathroom. Look for a product specifically labeled as a moisture-resistant primer or one that contains a mildewcide. This extra layer of protection is vital for long-term success.
If you are working on a ceiling that has a specific texture, try to dab the primer on with a brush or a small piece of sponge to mimic the surrounding texture rather than rolling it flat. This helps the patch disappear into the existing ceiling finish.
Applying the Final Coat and Blending
Now that the repair is prepped, primed, and smooth, it is time for the finish coat. You should use a bathroom-specific paint that is formulated to handle steam and resist mildew. If you have the original paint used on the ceiling, use that for the best color match.
If you don’t have the original, try to get a small sample matched at a paint store. Even with a perfect color match, the sheen can be tricky. Use a small roller or even a duster brush to apply the paint, as this creates a slight texture that helps hide the repair.
To blend the paint, use a “stippling” motion with your brush or roller. Instead of long, smooth strokes, dab the paint onto the edge of the patch. This technique mimics the natural texture of a roller-applied ceiling, preventing a flat, obvious patch from standing out against the rest of the ceiling.
If the paint looks a bit too distinct after the first coat, let it dry and apply a second, very light coat using the same dabbing motion. The goal is to build up the thickness gradually until it matches the surrounding area perfectly.
Preventing Future Peeling Issues
Fixing the damage is only half the battle; ensuring it doesn’t return is the other half. Now that your ceiling looks brand new, make a habit of running your bathroom exhaust fan for at least fifteen to twenty minutes after every shower.
This simple step drastically reduces the humidity levels in the room, which is the primary cause of paint failure. If you don’t have a fan, cracking a window or leaving the door open can also help, though a fan is significantly more effective at removing moisture from the air.
Regularly inspect your ceiling for signs of new bubbling or mold. If you see tiny dots or minor peeling starting to form, address them immediately with a quick scuff-sanding and a touch-up of primer. Catching these problems early allows you to perform minor maintenance rather than full-scale repairs.
By keeping the humidity in check and performing routine inspections, you can keep your ceiling looking great for years without ever needing to repaint the entire room. It is all about proactive care and maintaining a dry environment for your paint to thrive.
Final Thoughts on Ceiling Maintenance
Successfully addressing these repairs is a matter of patience and attention to detail. By taking the time to properly clean, prime, and blend your touch-ups, you can restore your home without the massive headache of a total ceiling repaint.
Fixing peeling paint on bathroom ceiling without repainting everything is a highly effective way to keep your bathroom looking fresh and clean. Always remember that the longevity of your repair depends largely on how well you manage the moisture in your bathroom moving forward.
If you find that the paint continues to fail despite your best efforts, it may be time to look deeper into your ventilation system or check for roof leaks. However, for most homeowners, the simple steps outlined above will solve the problem completely.
If you have specific questions about the type of paint or primer that works best for your local climate, feel free to reach out to your local hardware store staff for recommendations tailored to your region. Happy painting!
